目录
OpenClaw 真正跑起来以后,才发现部署不是只有一个 docker compose。换源、运行环境、配置文件和启动顺序都要理清楚,这篇把 Linux 完整体部署流程重新梳了一遍。
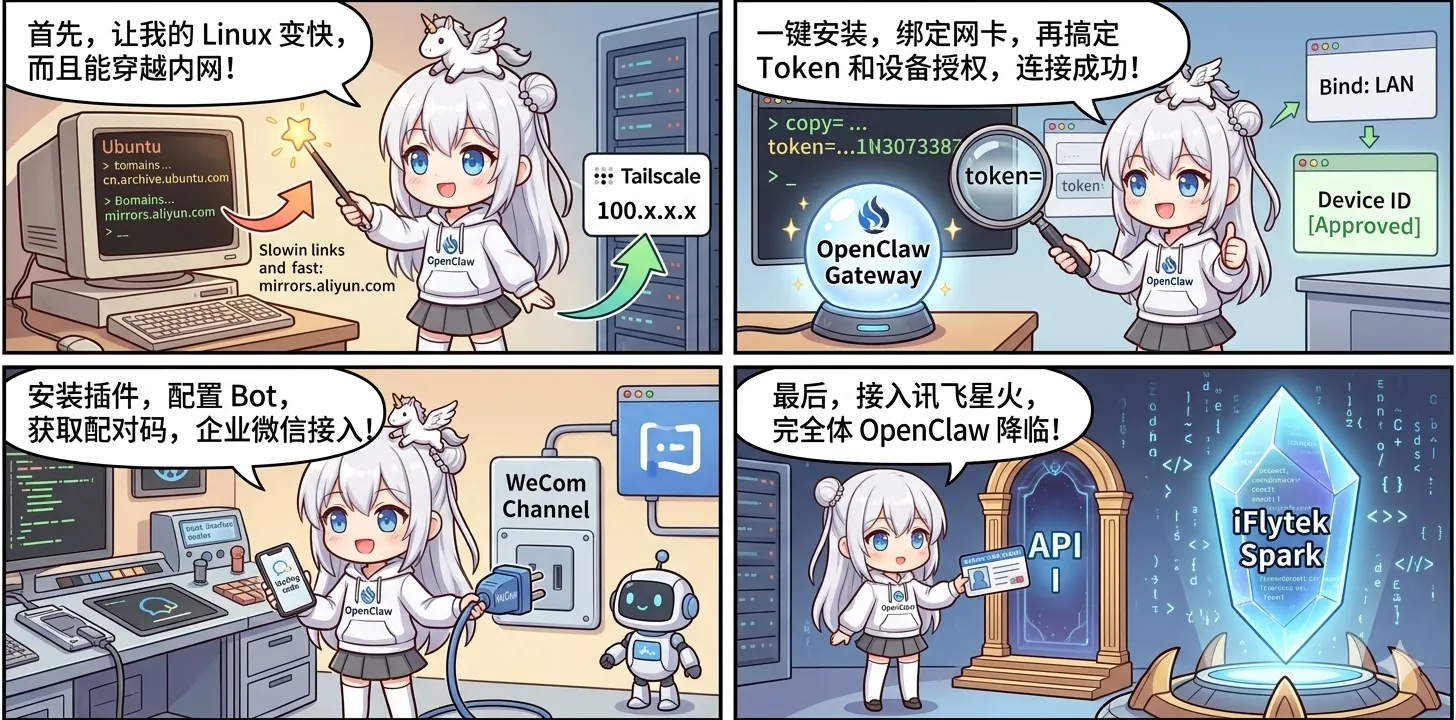
一、 Ubuntu 镜像源设置
在一台全新的 Ubuntu 虚拟机上,首先要替换国内软件源以保证下载速度。
1. 备份原始文件
bashsudo cp /etc/apt/sources.list.d/ubuntu.sources /etc/apt/sources.list.d/ubuntu.sources.bak
2. 一键替换为阿里云源
使用 sed 命令一键把官方域名替换为阿里云域名:
bashsudo sed -i 's/cn.archive.ubuntu.com/mirrors.aliyun.com/g' /etc/apt/sources.list.d/ubuntu.sources
sudo sed -i 's/security.ubuntu.com/mirrors.aliyun.com/g' /etc/apt/sources.list.d/ubuntu.sources
3. 更新系统索引
换完源后,刷新系统仓库:
bashsudo apt update
二、 (可选) 安装 Tailscale 实现内网穿透
如果没有公网 IP,强烈建议使用 Tailscale 打通局域网限制,方便随时随地访问控制台。
- 一键安装 Tailscale
bashcurl -fsSL https://tailscale.com/install.sh | sh
- 使用密钥直接静默登录 (请将
tskey-...替换为实际的专属 Auth Key)
bashsudo tailscale up --authkey=tskey-au-xxxxxxxxxxxxx
- 查看内网 IP
执行以下命令,获取分配给这台虚拟机的
100.x.x.x专属内网 IP:
bashtailscale ip -4
三、 OpenClaw 本体安装与核心配置
1. 跑官方一键安装脚本
该脚本会自动拉取代码、配置 Node.js 环境并初始化工作空间:
bashcurl -sSL https://openclaw.ai/install.sh | bash
2. 刷新环境变量
让系统识别刚刚安装的 openclaw 命令:
bashsource ~/.bashrc && source ~/.profile
3. 优化 NPM 网络环境
由于后续需要安装各种插件,建议把 npm 的源换成国内镜像(淘宝/阿里云维护):
bashnpm config set registry https://registry.npmmirror.com
4. 修改底层网络绑定 (极其重要)
执行 nano ~/.openclaw/openclaw.json 打开配置文件,找到 bind 字段,进行如下修改:
json"bind": "lan"
为什么要改写成 lan? 因为在 OpenClaw 的新逻辑里,
lan模式会自动把服务绑定到所有网卡(等同于以前的0.0.0.0),这样通过 Tailscale 穿透进来的流量才能正常访问控制台。
修改后重启网关:
bashopenclaw gateway restart
5. 添加信任域名 (CORS 跨域配置)
如果配置了专属域名,需要将其加入白名单:
bashopenclaw config set gateway.controlUi.allowedOrigins '["https://chat.zym588.space"]'
执行完后,再次重启网关:
bashopenclaw gateway restart
四、 解决控制台 Token 报错与设备验证
在重启或者更换域名后访问网页控制台,往往会报错 gateway token mismatch(令牌不匹配)。这通常是因为浏览器缓存了旧的 Token。
操作步骤:
- 在服务器终端输入以下命令获取新 Token:
bashopenclaw dashboard --no-open
- 终端会输出一个类似
http://127.0.0.1:18789/#token=xxxxxx的链接。 - 提取出
#token=后面那一长串字符复制下来。 - 回到报错的网页,点击左侧菜单底部的 设置 (Settings),找到填写 Token (令牌) 的输入框。
- 将复制的新字符粘贴进去,点击 连接 (Connect)。
处理新设备拦截: 连接成功后如果被系统拦截并提示设备未授权,需回到终端执行:
bash# 1. 查看当前待审批的设备请求
openclaw devices list

# 2. 批准该设备接入(替换下方括号内为列表中实际显示的设备 ID)
openclaw devices approve [设备ID]
五、 安装与配置企业微信插件
为了在手机微信上直接与 AI 对话,需要接入企业微信渠道。
- 安装专属插件
bashopenclaw plugins install @wecom/wecom-openclaw-plugin
安装完成后启动网关:
bashopenclaw gateway start
- 添加渠道交互向导 在终端中输入以下命令:
bashopenclaw channels add
- 在 select channel 步骤,选择
WeCom (企业微信)。 - 进入企业微信管理后台,创建机器人应用,获取并输入机器人的 Bot ID 和 Secret。
- 一路回车,最后选择
finish。
- 双向配对授权
- 返回企业微信手机端,向刚刚创建的机器人发送任意消息。机器人会回复一串包含配对码的信息。
- 在服务器终端中,执行最终配对命令完成授权绑定:
bashopenclaw pairing approve wecom [在此处填入自定义的设备名称]
六、 接入大模型 API (以讯飞星火为例)
千万不要在网页端 UI 进行自定义大模型的配置(容易触发 JSON 格式 Bug)。必须使用命令行的交互工具。
在终端执行:
bashopenclaw configure
根据屏幕提示依次选择:
- 选中
Model(模型) 并回车继续。 - 核心避坑:当询问 Model/auth provider 时,绝对不要选 OpenAI,向下翻阅,选择
Custom Provider (Any OpenAI or Anthropic compatible endpoint)。 - 协议选择
OpenAI。
接着按顺序填入以下参数:
- Base URL: 粘贴
https://maas-coding-api.cn-huabei-1.xf-yun.com/v2 - API Key: 粘贴星火大模型的专属密钥
- Model ID: 输入
astron-code-latest
一路回车保存,配置完成!
本文作者:小转圈
本文链接:
版权声明:本博客所有文章除特别声明外,均采用 BY-NC-SA 许可协议。转载请注明出处!